4. Full Custom CSBL: CKEditor JavaScript code
This section describes how to implement your CSBL from scratch, writing the full JavaScript code without the necessity to use the CSBL Editor. This option may be suitable for programming skilled user, since it offers a higher freedom in CSBL code development with fewer constraints, however in this case the user has to manually implement the whole logic for preparing data to be sent, for handling received data, for handling event triggers etc. Within the dashboard builder application access a dashboard in editor mode and create a widget from the wizard.
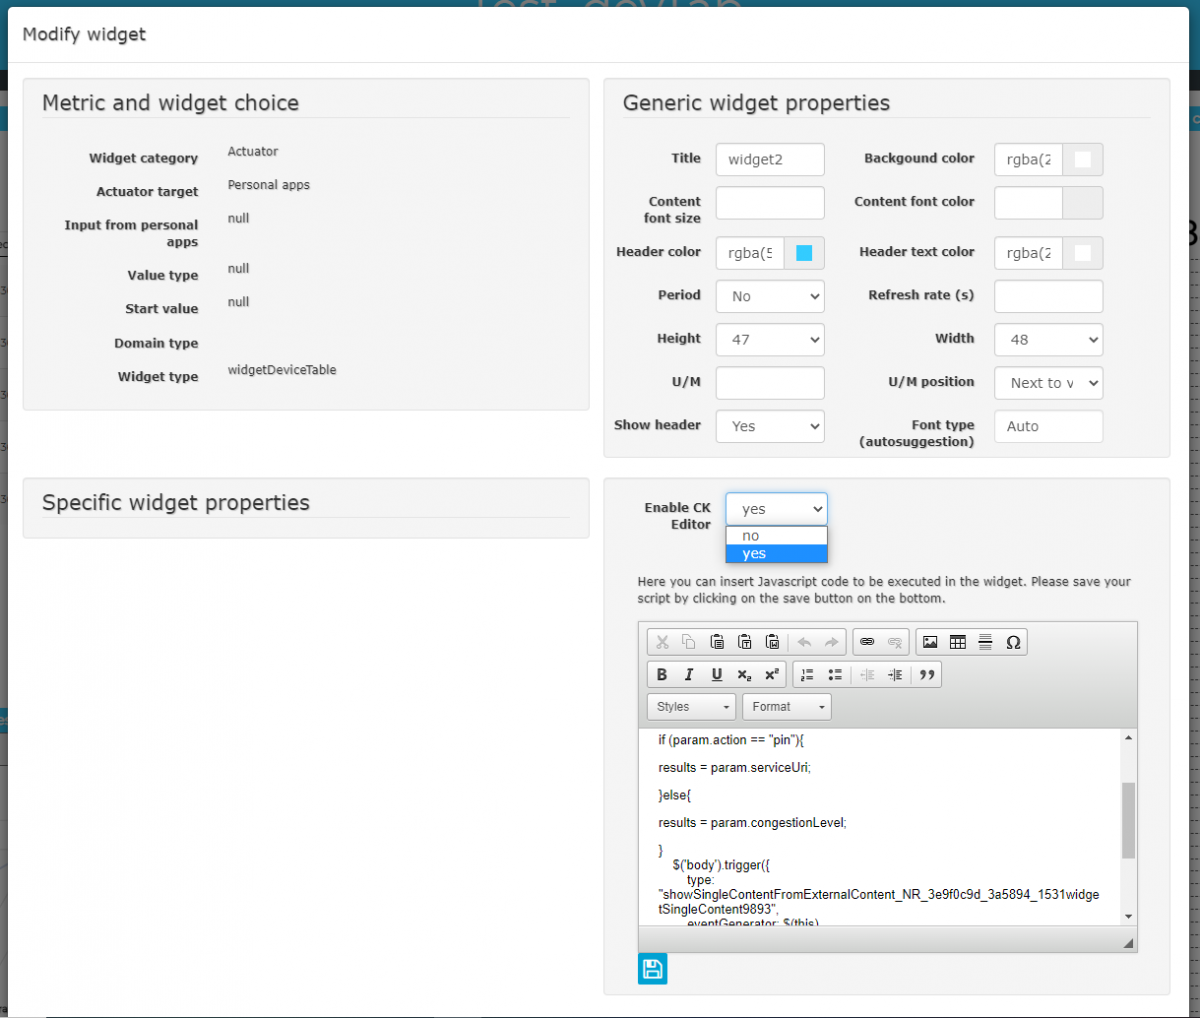
After creating the widget, access the more options menu, activate script insertion in the Enable CK Editor menu.
At first instance, the following default template is shown in the CKEditor, which shows the user the format which is compliant with the CSBL Editor (see previous Section 3):
/*
Use the following template (comments included)
if you want your CK Editor code to be compliant
with the CSBL Editor.
*/
function execute(){
// Connections JSON Template (CSBL Editor)
var connections =
[{"port_name":"<PORT_NAME>","output_type":"<OUT_PORT_TYPE>","linked_target_widgets":[{"widget_name":"<TARGET_WIDGET_NAME>","widget_type":"<TARGET_WIDGET_TYPE>"}]}];
var e=readInput(param, connections);
//events_code_start
if(e.event == "<EVENT_NAME>"){
//events_code_part_start
//events_code_part_end
}
//events_code_end
}
The CSBL Editor actually exploits the JavaScript array of objects connections to define and map all the input and output connections for each widget. This array of objects is automatically created by the CSBL Editor when the user graphically sets all the desired connections among the widgets. Therefore, it is not shown in the CSBL Editor, so that it cannot be edited directly in the CSBL Editor. However, it is shown in the CKEditor in order to give user the full flexibility to see and edit it. In particular, “<PORT_NAME>” is the name of the specific output port; “<OUT_PORT_TYPE>” represents the specific OutputType (as described in Section 3.2) of the port; "<TARGET_WIDGET_NAME>” and "<TARGET_WIDGET_TYPE>" represent the name and type of the current widget, respectively; "<EVENT_NAME>" is the name of the specific event associated to the current widget (as described in Section 3.1).
In addition, the CSBL calls a pre-defined function readInput (in order to correctly prepare the data sent by the specific event which is represented by the JavaScript variable “e”), and it also uses the comment tags to properly split the code related to each single event.
In the following part of this Section, it is described how to implement your CSBL from scratch in the CKEditor, without the necessity to follow the above-mentioned template. However, be aware that in this case the CSBL Editor may not work properly with your custom CKEditor logic.
In the CKEditor code it is necessary to specify the identification code of the widget that will receive the content of the script (Most details on the function in Section 5)
Once the code has been entered, click on the save icon to store it in the database.
At this point, the widget indicated as a target in the function can read and interpret the contents of the script if an event occurs that triggers the execution of the function. This event is typically generated by a click on a specific data representation.
4.1. Template JavaScript
Let’s consider a first simple example to understand how to implement the JavaScript function in a widget CK Editor, which is needed to perform the desired logic on some target widget(s). First of all, in this example let’s consider a dashboard in which an existing widget is present, the id of which, <TARGET_WIDGET_NAME>, must be noted. Let the target widget have id <TARGET_WIDGET_NAME>.
The JS function to be inserted in the appropriate CK Editor box (in more options) of the current widget is of the following type:
function execute() {
$('body').trigger({
type: "<TARGET_WIDGET_EVENT_HANDLER_METHOD_NAME>_<TARGET_WIDGET_NAME>",
eventGenerator: $(this),
targetWidget: "<TARGET_WIDGET_NAME>",
passedData: { "dataOperation": param }
});
}
The “type” key to be valorized in the JSON inside the $('body').trigger is a string obtained by concatenation of the name of the event handler method, <TARGET_WIDGET_EVENT_HANDLER_METHOD_NAME>, which is defined in the target widget source code (see Section 6 for detailed specifications for each widget), the underscore character and the target widget id <TARGET_WIDGET_NAME>. Data can be passed (see the “param” variable in the above example, which is passed as value of the “passedData” key in the JSON, as detailed in Section 4.2), for instance a JSON containing a list of SURI, corresponding metric names and/or values etc. which are currently viewed on the source widget.
From a widget it is also possible to send parameters to more than one widget simultaneously by activating more than one trigger event, each one associated with the reading widget id. In this case the same parameters are sent from a widgetmap to multiple widgets of various types:
function execute(){
var e = JSON.parse(param)
var metrics = ["anomalyLevel","averageSpeed","avgTime","concentration","congestionLevel","vehicleFlow"];
var data = [];
let h = 0;
for (var l in e.layers) {
for(var m in metrics){
data[h] = {};
data[h].metricId = "https://servicemap.disit.org/WebAppGrafo/api/v1/?serviceUri="+ e.layers[l].serviceUri;
data[h].metricHighLevelType = "Sensor";
data[h].metricName = "DISIT:orionUNIFI:" + e.layers[l].name;
data[h].metricType = metrics[m];
h++;
}
}
$('body').trigger({
type: "showPieChartFromExternalContent_w_AggregationSeries_1_widgetPieChart65",
eventGenerator: $(this),
targetWidget: "w_AggregationSeries_1_widgetPieChart65",
passedData: data
});
$('body').trigger({
type: "showBarSeriesFromExternalContent_w_AggregationSeries_1_widgetBarSeries48",
eventGenerator: $(this),
targetWidget: "w_AggregationSeries_1_widgetBarSeries48",
passedData: data
});
$('body').trigger({
type: "showRadarSeriesFromExternalContent_w_AggregationSeries_1_widgetRadarSeries49",
eventGenerator: $(this),
targetWidget: "w_AggregationSeries_1_widgetRadarSeries49",
passedData: data
});
}
In the example above, it is to be noticed that some data preparation is performed before passing data to the target widgets.
4.2. Parameters
The param variable consists of the input value generated by the widget state change, as well as by the entities and related attributes currently displayed on the widget at the moment of triggering the action. You can send it in passedData, or use it to perform operations in JavaScript:
The passedData field can be:
passedData: {
"dataOperation": param
}