This manual is only valid for Micro X rootadministrators.
NOTE: The following description refers to Keycloak v. 23. A similar procedure is also valid for earlier versions with slight differences.
- Go to hostname_of_snap4_distribution/auth/;
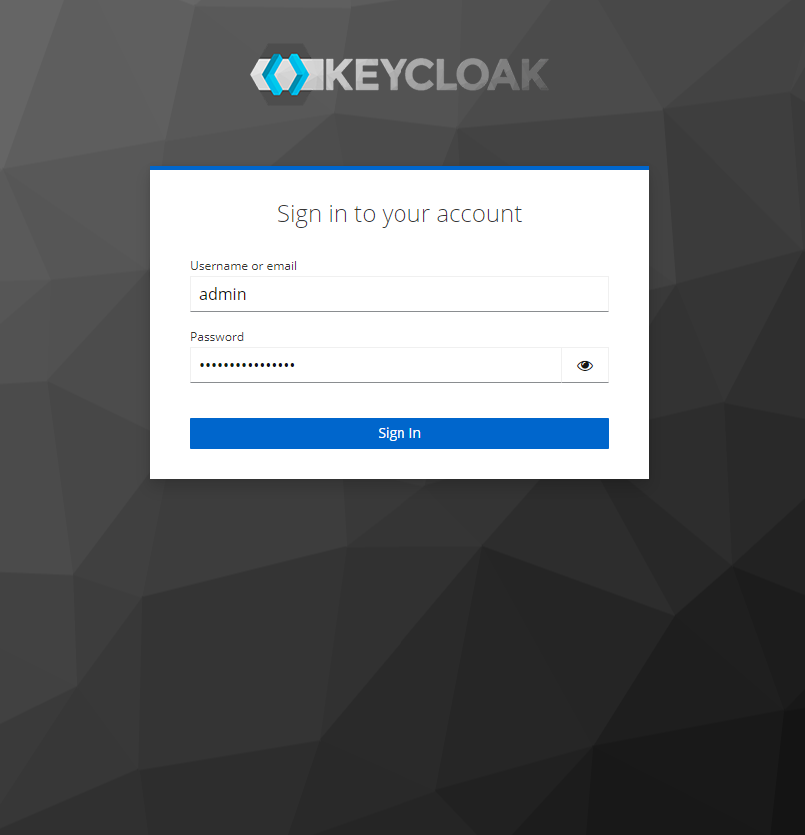
- You will see a login page, for which you will need the credentials for the keycloak administrator (by default the username is admin, the password is found in the generated files of the distribution);
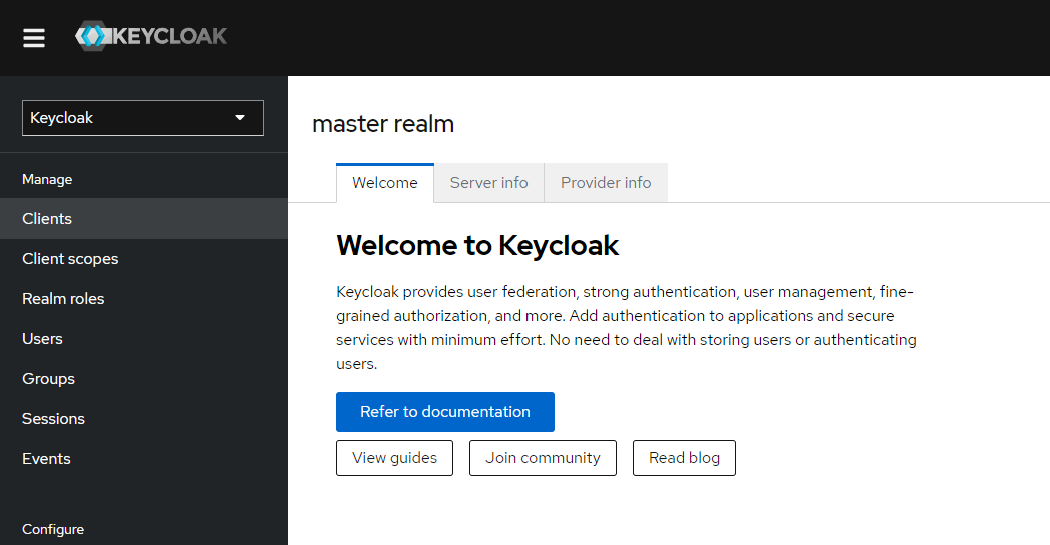
- In the main menu on the left, select Clients;

- Create a client;
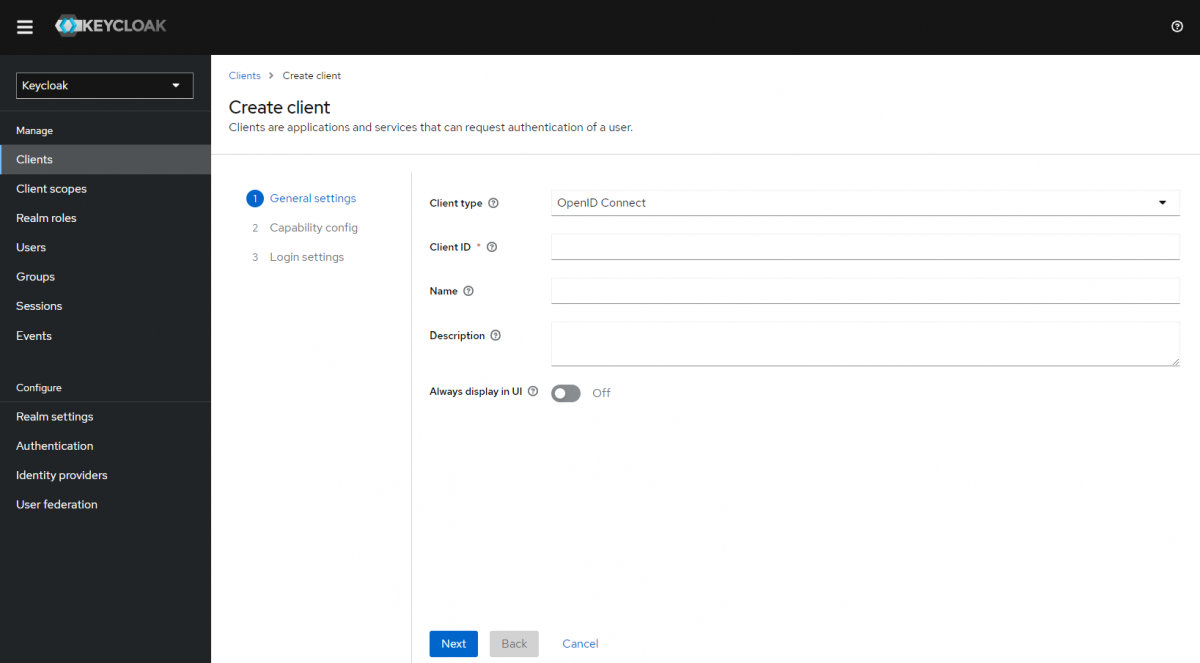
- Fill the form with your data, then create the client_id;

- The client is now operative, but not fully integrated with the snap4tech configuration yet;

- Go to Client scopes and select “ClientID_name”-dedicated (in the image it’s “test-dedicated”);
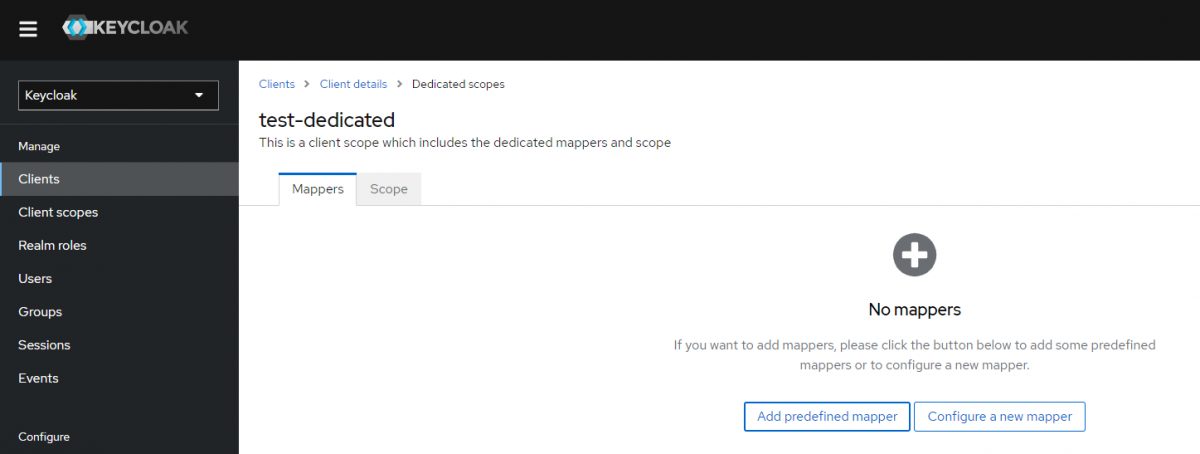
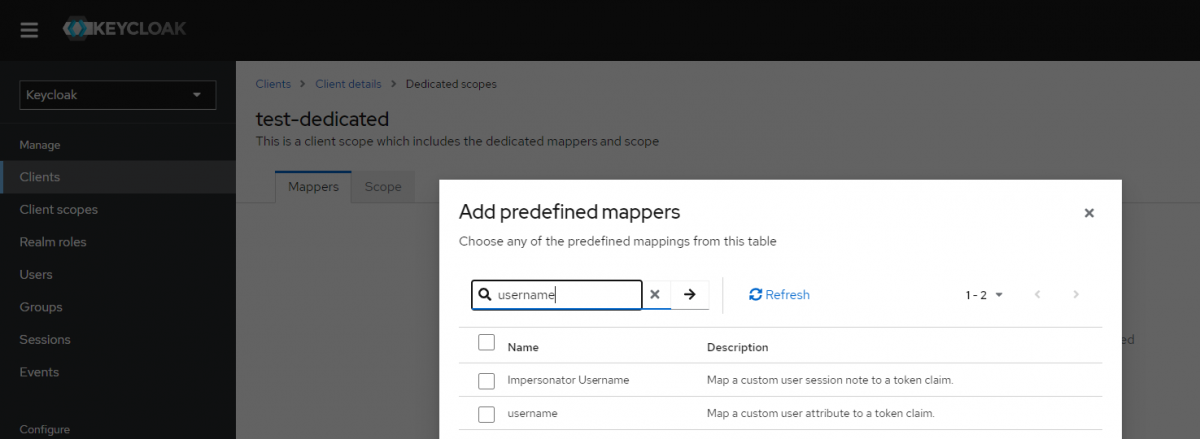
- Add the “username” predefined mapper;
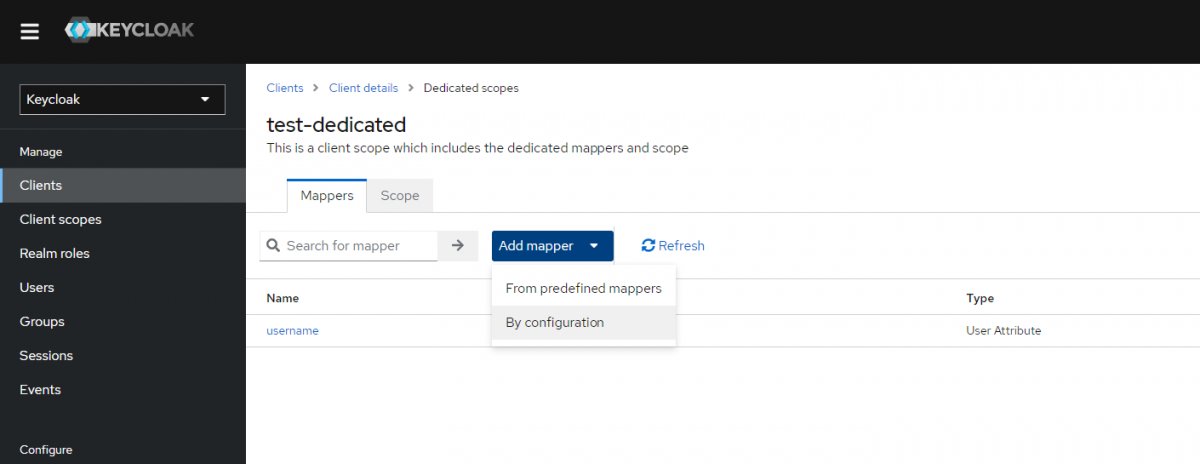
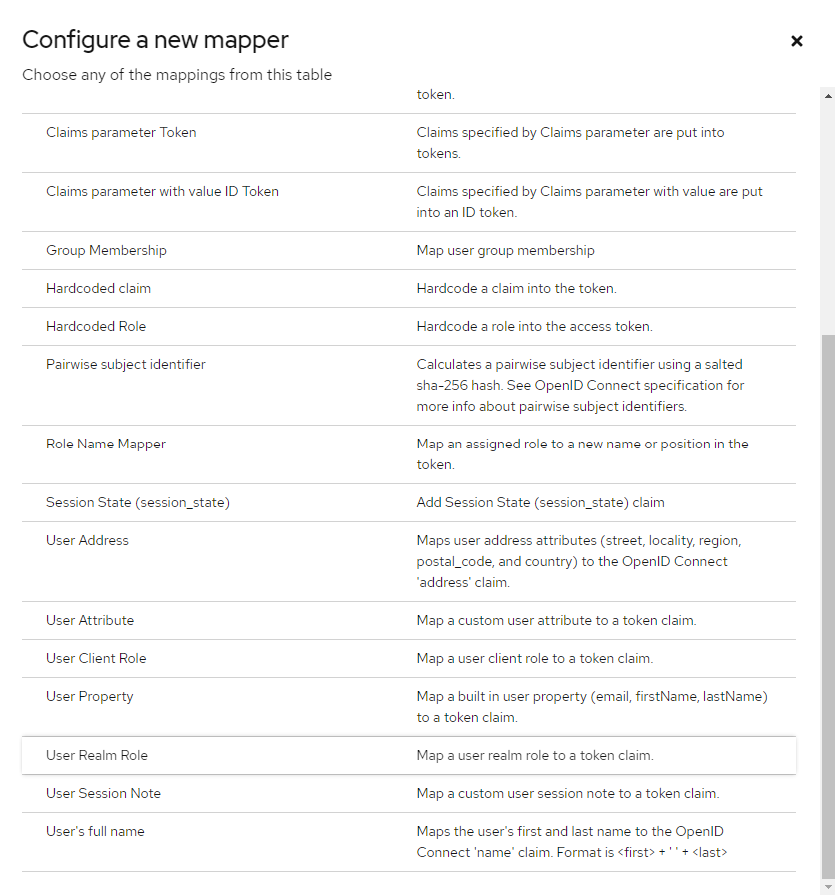
- Add a new mapper by configuration, selecting “User Realm Role”;
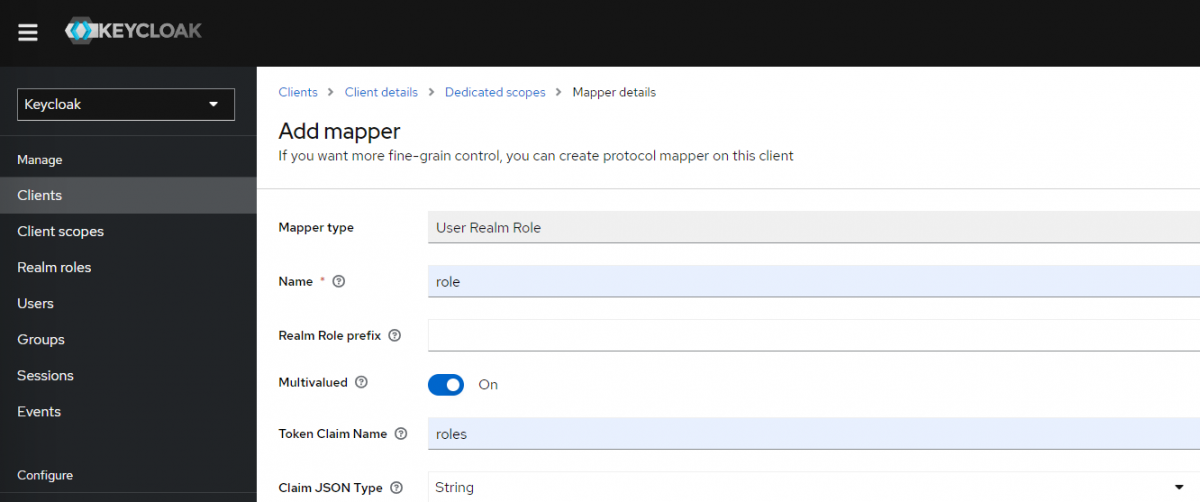
- In the newly opened view, put “role” in the name and “roles” in the Token Claim Name, then save.